Setting Intellij IDE Project SDK
The Gradle project for the MiniReal ABM codebase relies on the avalability of Java JDK 17 (see Installing JDK ). And when using Intellij IDE, this SDK (Software Development Kit) for Java has to be set accordingly in the OS or IDE. In this documentaion, we will see how to set it up in Intellij IDE.
-
Select the
Project Structureoption from theFilestab dropdown list.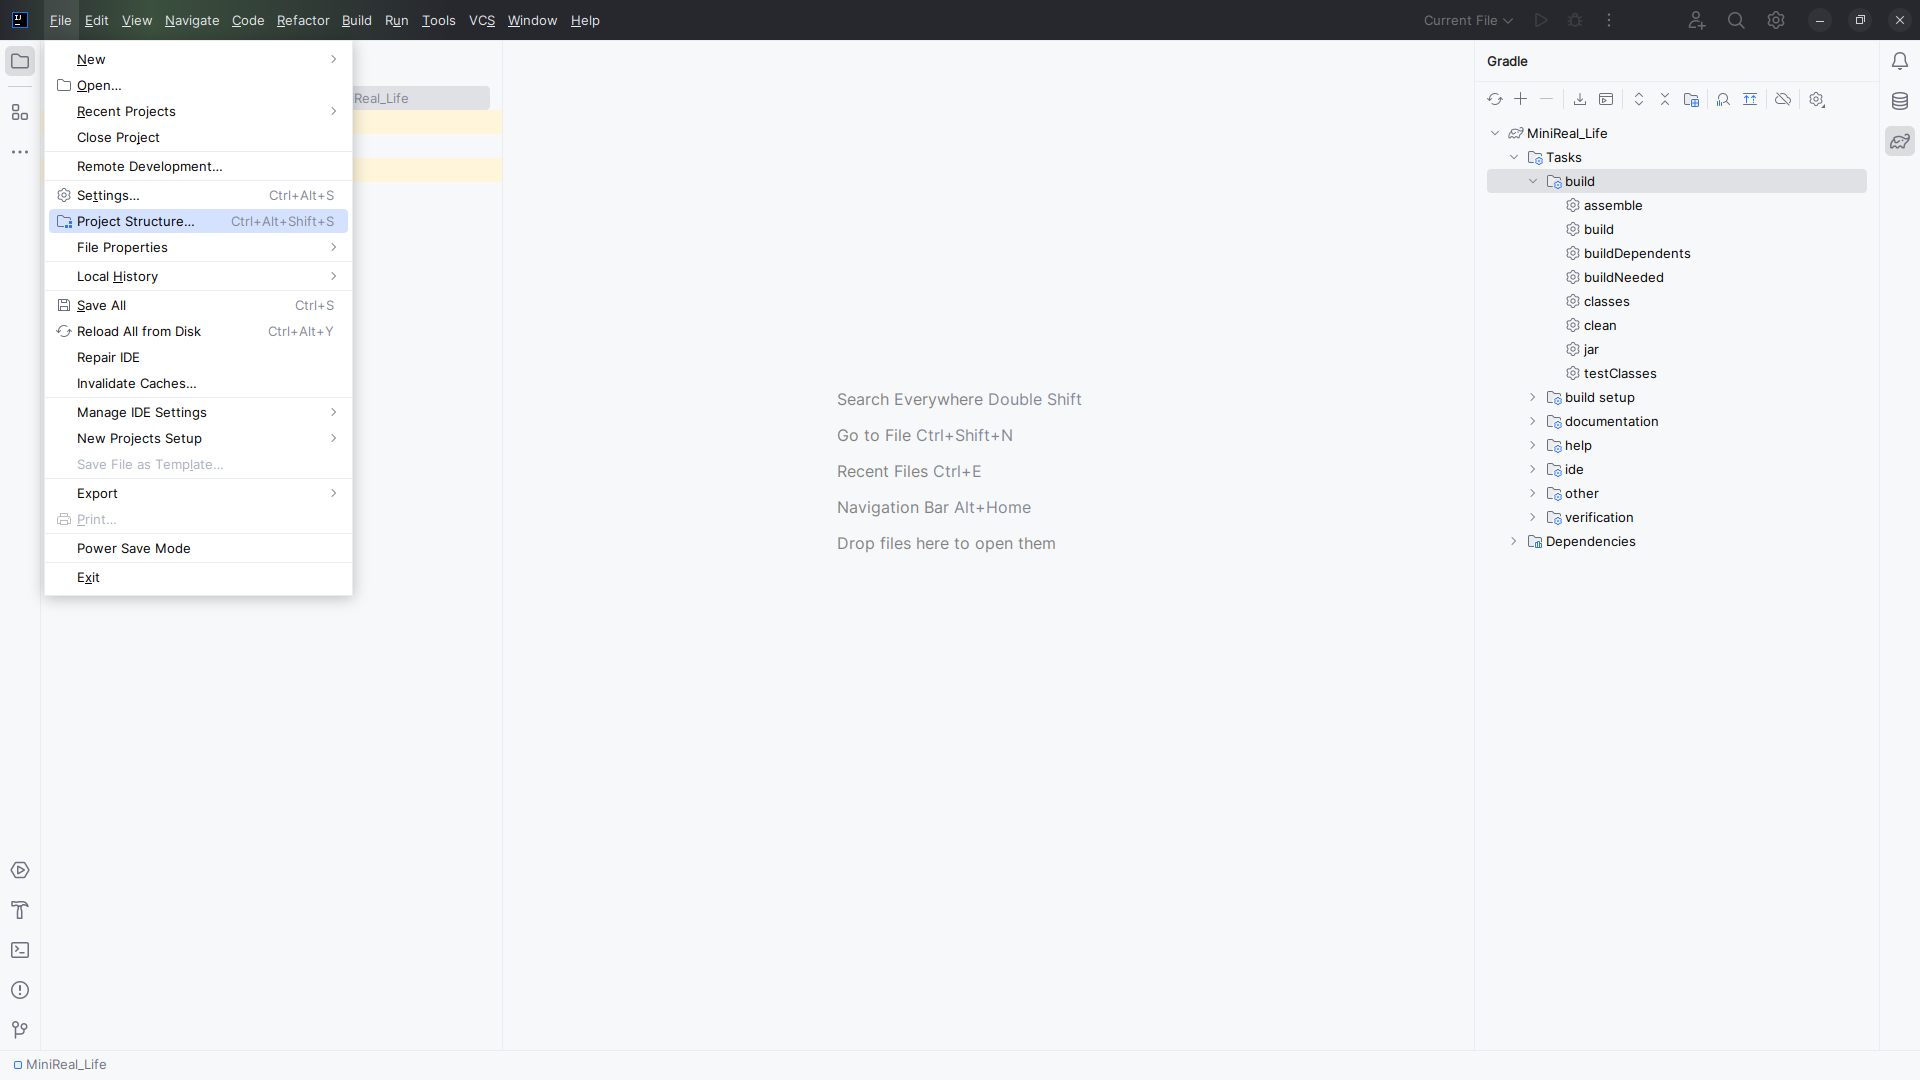
Figure: Navigating to a project settings window from the Files dropdown
-
After clicking on the
Project Structureoption, the following popup window will be displayed. This window will show the relevant SDK (JDK) information for the opened project.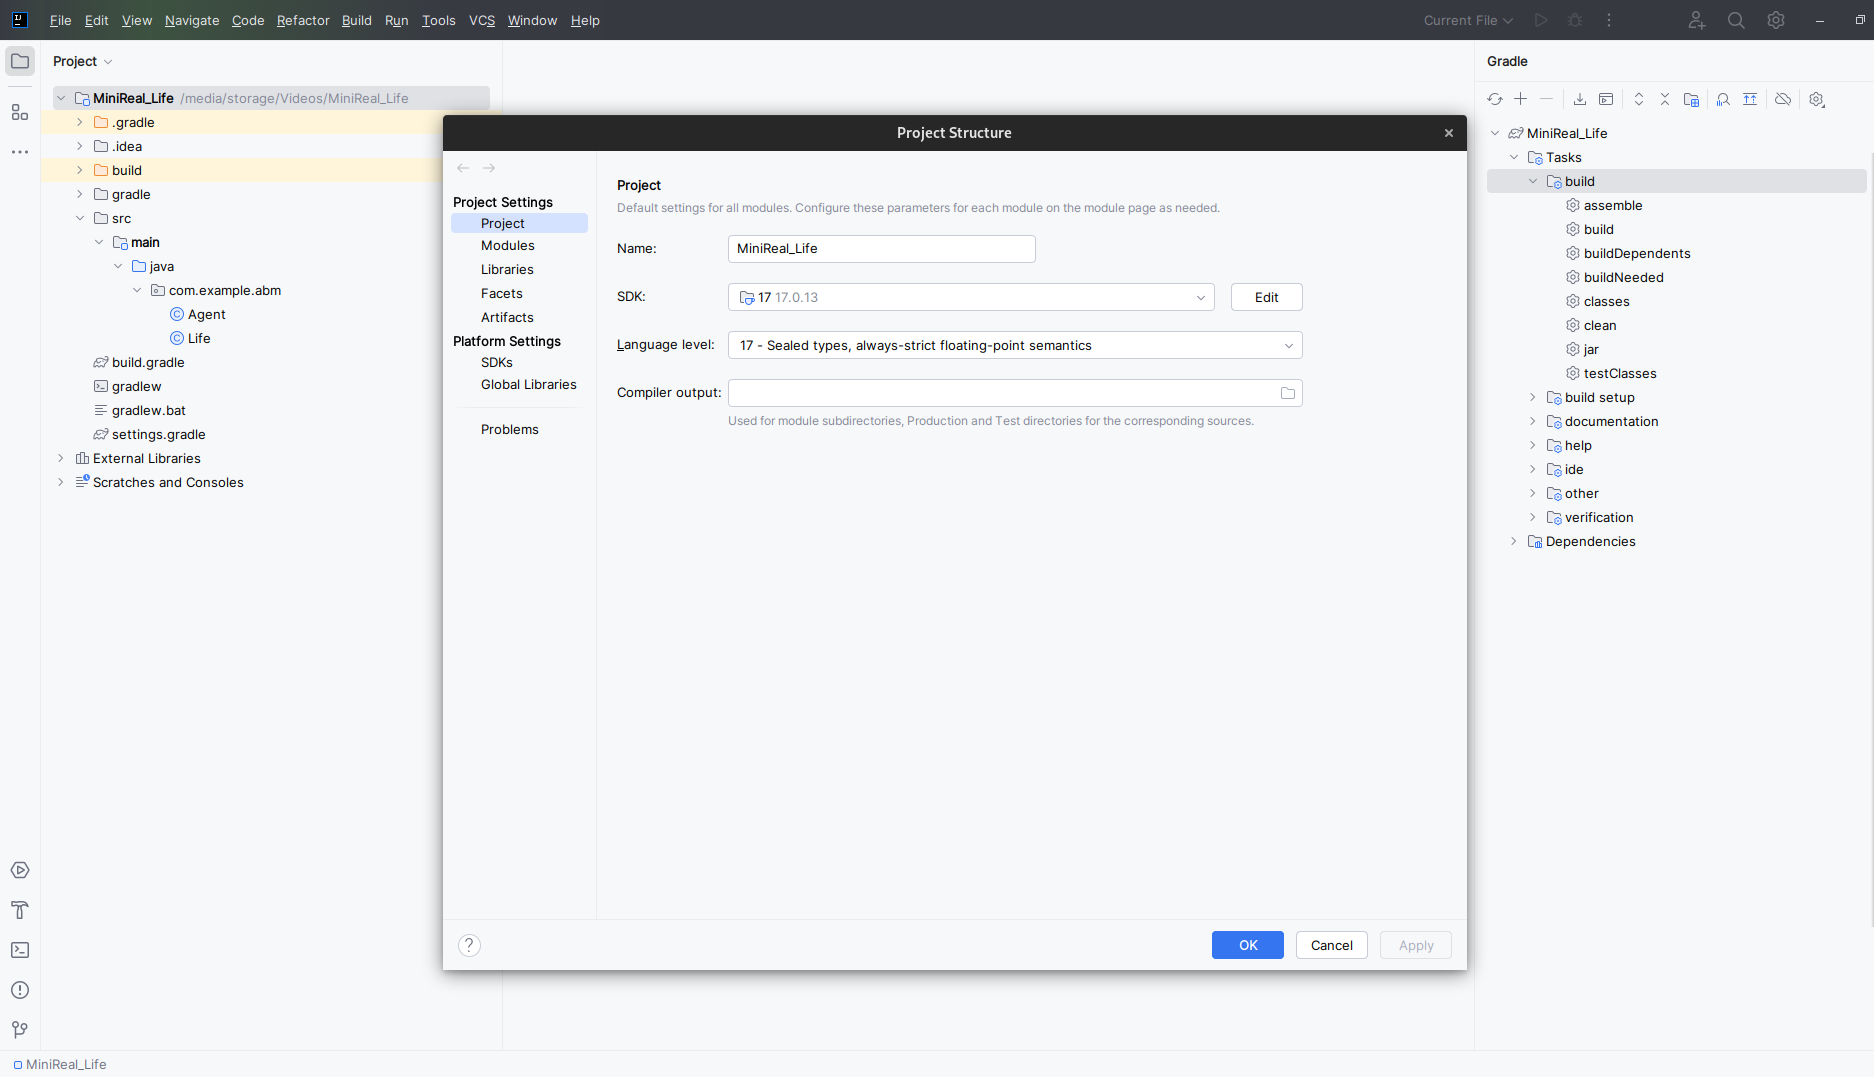
Figure: Project Settings window
-
From the
Project Structurewindow, select the dropdown component next to theSDKlabel & choose theDownload JDKoption.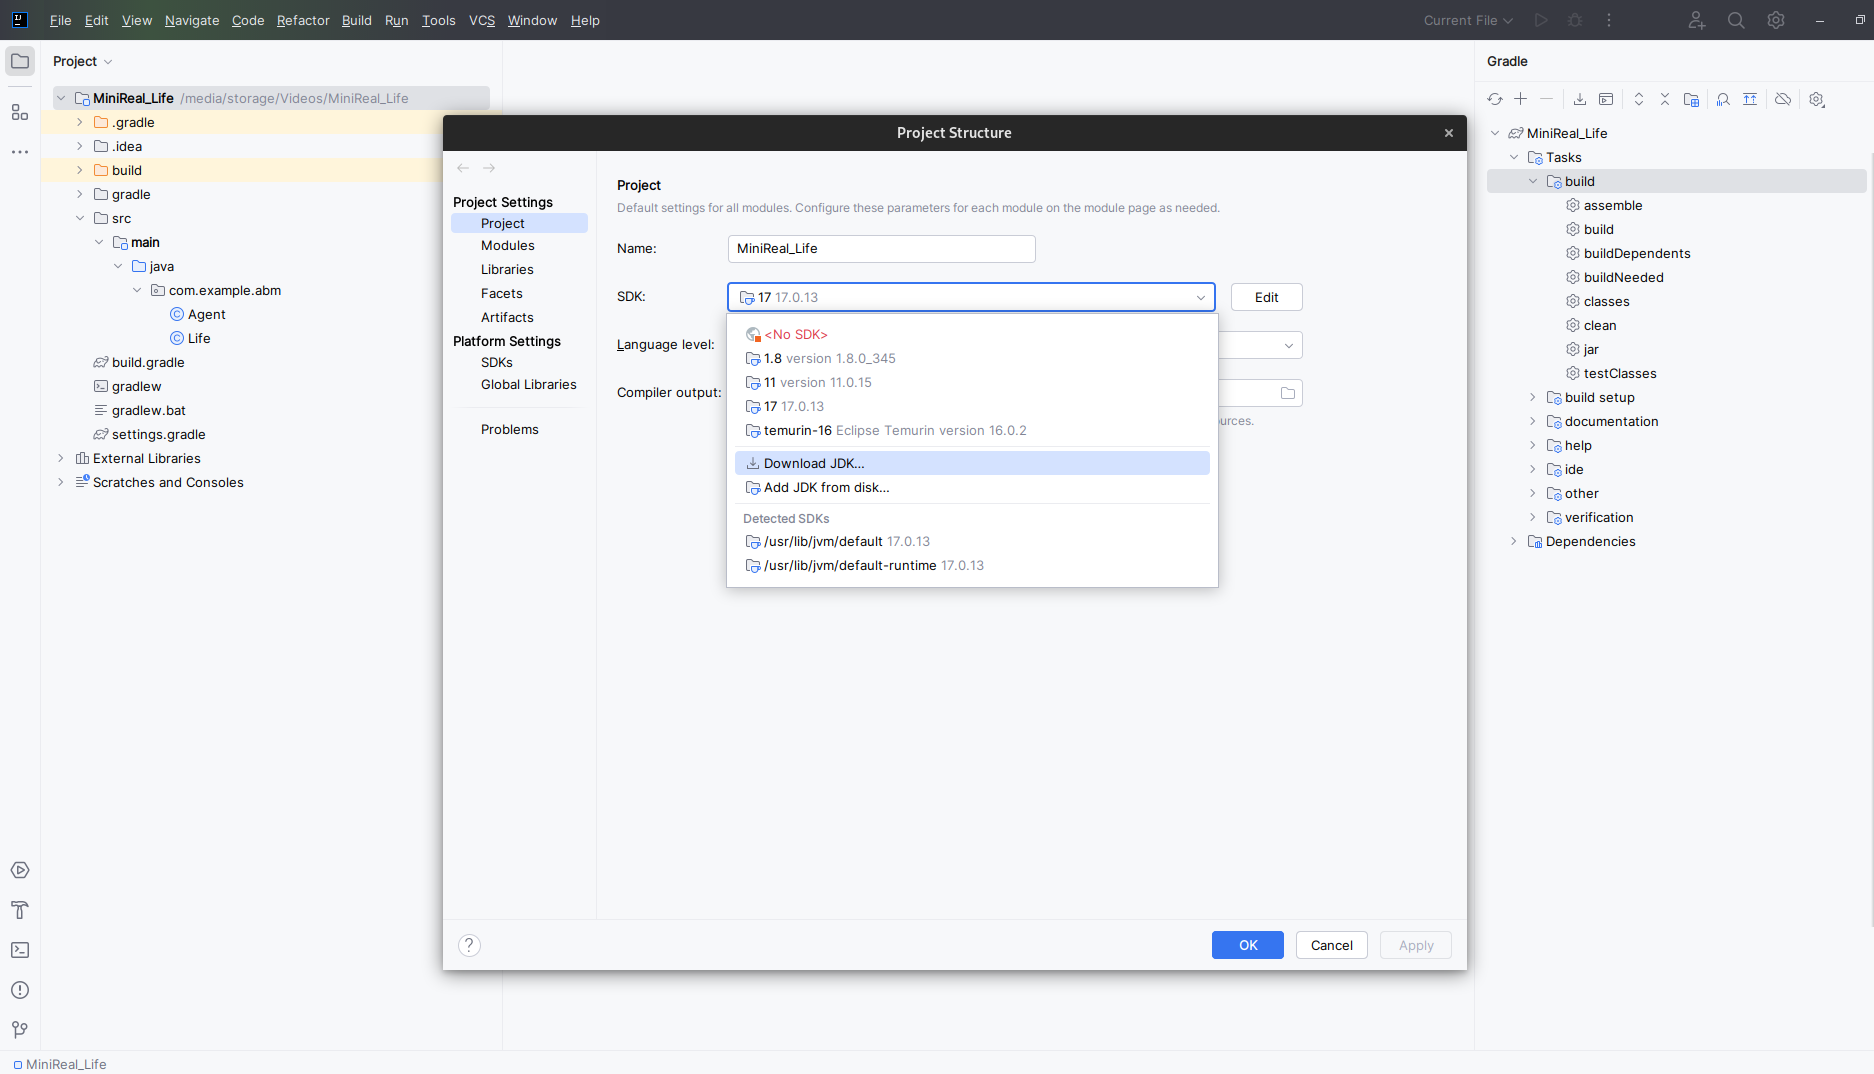
Figure: Selecting download JDK option
-
Another small window will pop-up to prompt for the JDK version & vendor. On this window please select
JDK 17version provided by theEclipse Termurinvendor, whose JDK is namedAdopt Open JDK. And then click on theDownloadbutton & wait for the process to finish.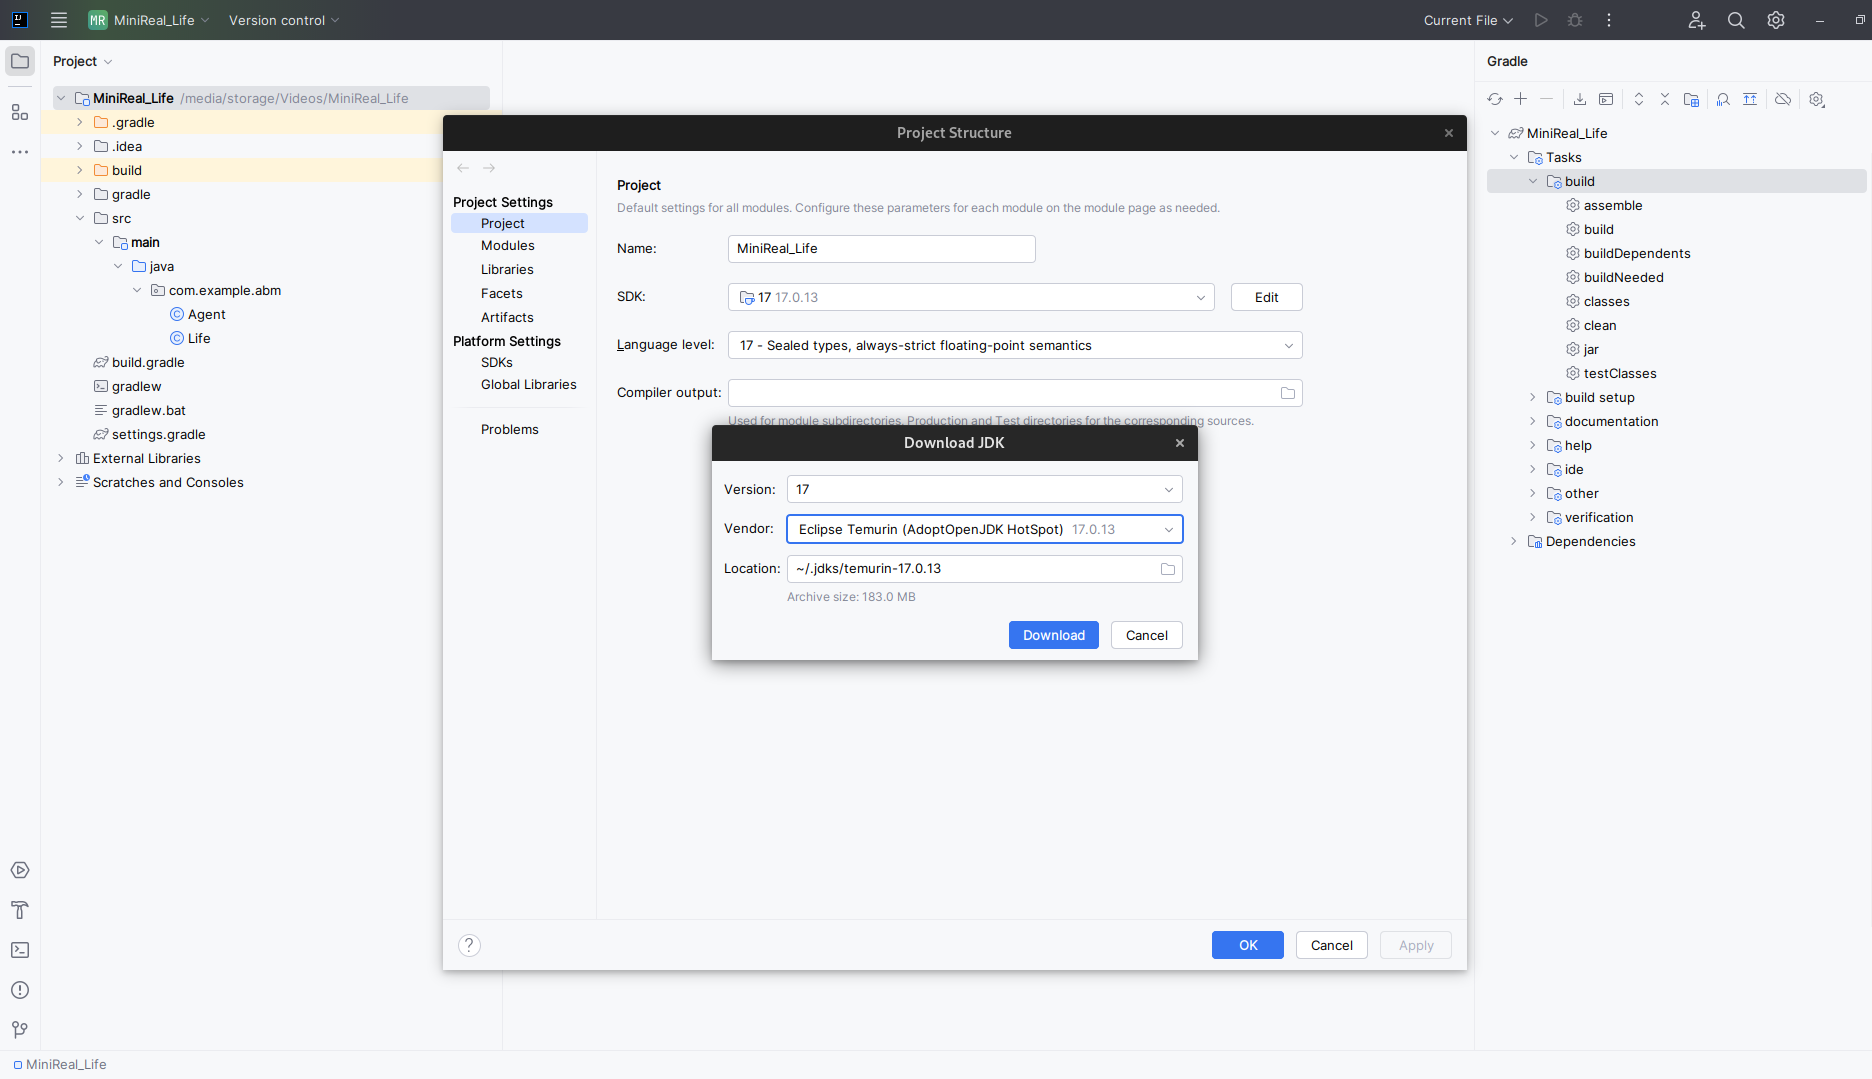
Figure: Downloading Adopt Open JDK 17
-
Once the download is completed you can select the recently added JDK from the drop-down option next to the SDK field on the
Project Settingwindow. Take note to also select the correctLanguage Levelversion (which is also 17). Then click onApply&Ok.
Figure: Selecting correct JDK versions
-
Finally you can test the correct setup of the JDK version by opening the Gradle side window located on the right-hand side of the IDE. First select the
clean& thenbuildoptions from the Tasks choice. These steps will build the ABM Gradle project as fresh.Tasks->build->cleanTasks->build->build

Figure: Build Gradle ABM project and test correct setup of JDK
Congratulations on successfully setting up the Java SDK (JDK) for WSim4ABM (MiniReal) Gradle project workflow. You can now perform modeling locally and generate your model
jar files conveniently.